Showing posts with label silver. Show all posts

Wednesday, 28 November 2012

Metal Jewellery Course: Second Project

I spent the first part of the session soldering a jump ring to my robin pendant. Here's a tip - always make sure you know exactly what your jump rings are made of before you put them in cleaning solution. Mine turned out to be (probably) steel-coated copper. The whole thing tarnished, and turned the pendant pink.

Luckily Roland had some scraps of silver wire on hand, and I was able to make my own jump ring. And solder it on the pendant again. I was still not full of the love for soldering. After it was soldered and in the pickle again, I decided to have a go at drop casting.

Did you ever play the game where you drip candle wax into water to tell fortunes? It's like that but with molten silver. I sat down with some scrap silver, a blowtorch, a bowl of water, and a pair of massive safety gauntlets, and started playing.
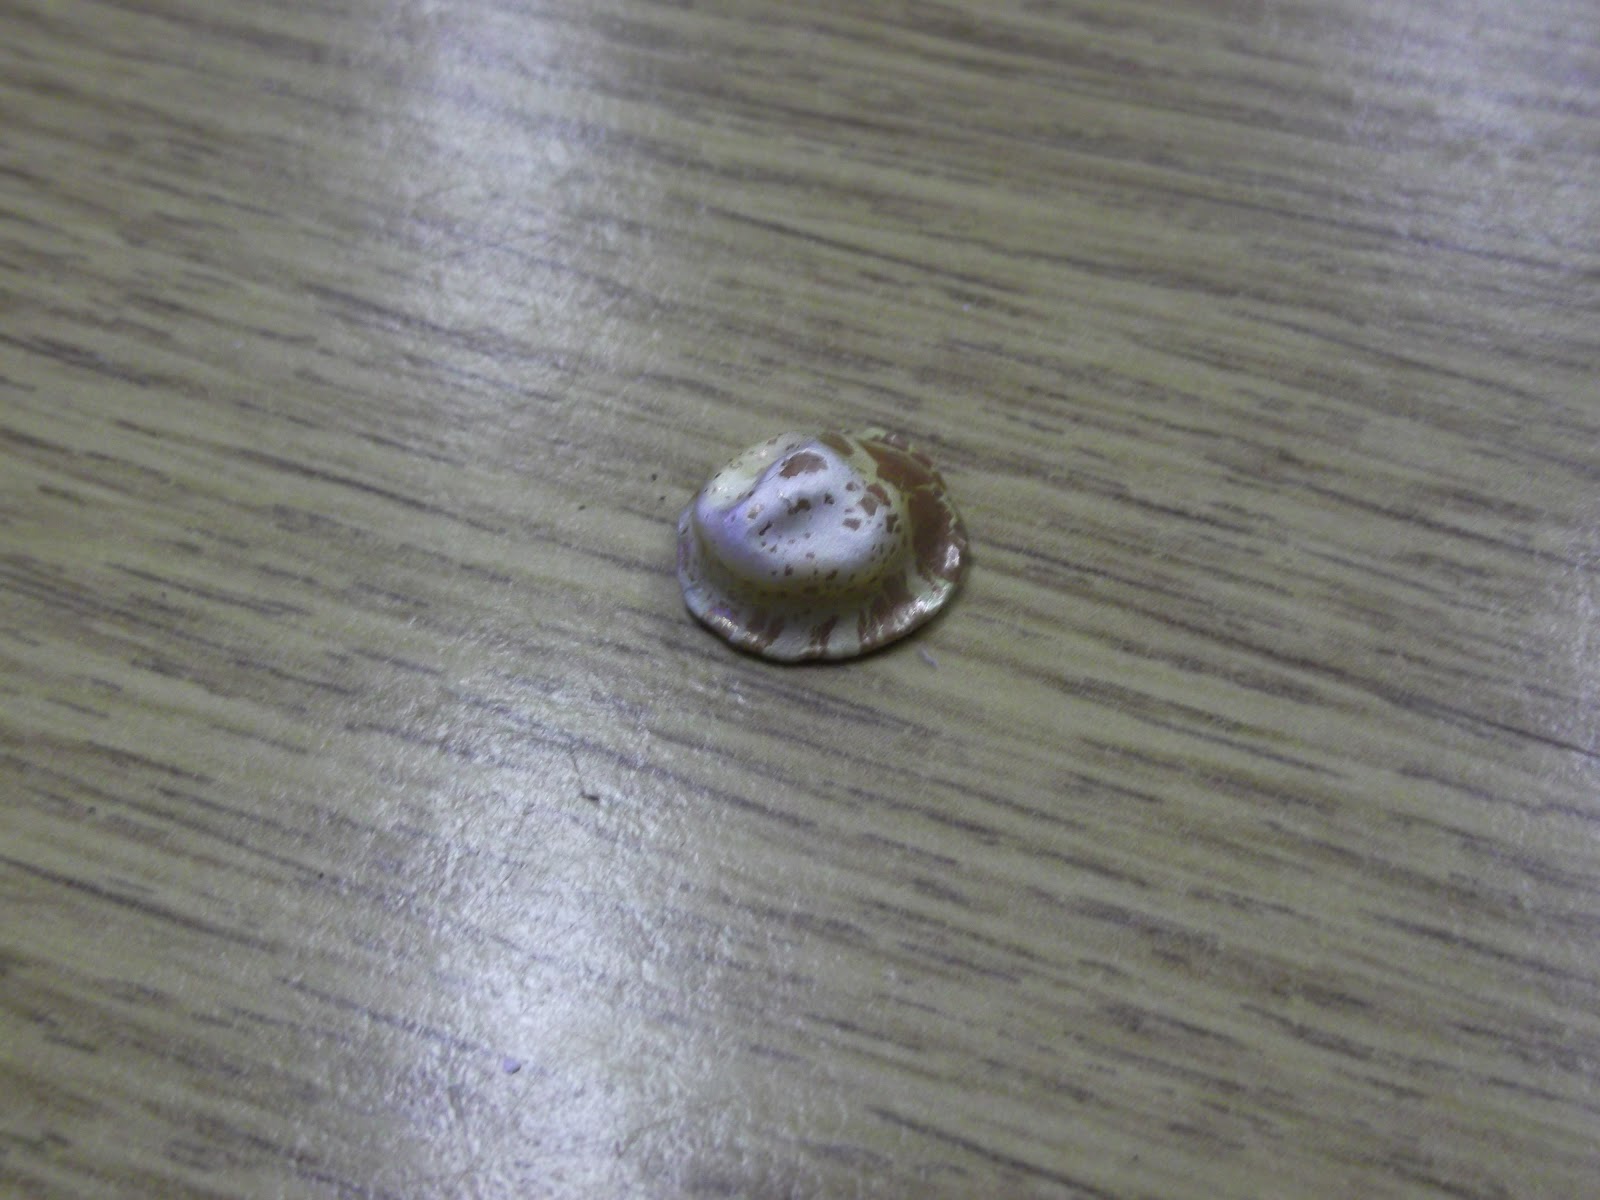
You don't get a great variety of shapes from this method, it turns out. Molten silver forms a ball, so a lot of the time the shapes are rounded. Sort of.


And you need to pour it quickly or you end up with things like this.


And yes, it is silver although it looks like copper. Oxides build up on the surface during heating and turn it funny colours.

Eventually I had a piece in a shape I liked, and while it was in the pickle cleaning I finished cleaning up the pendant with pumice powder, tripoli, and jeweller's rouge. It turns out that most of the work in metal jewellery goes towards the finish, and it's easy to see why pieces cost as much as they do.

At the end of the session I had a completed robin pendant, and a random silver shape. Somehow I had to find something to do with this:


Wednesday, 21 November 2012

Metal Jewellery Course: First Project

It was a breakfast on day two that I finally had the idea for what I was going to make, and made some hasty scribbles.


We learned about texturing and making granules (tiny little balls). Then it was time to start working on our designs. Although we could work in copper to practice if we wanted, I decided to jump straight in with silver. Time was limited, and I had the feeling I'd get bored with making the same thing twice.

After selecting a small piece of silver from the selection we had, I cut the basic shape out with a piercing saw. Having discussed the idea of colouring the robin's red breast I decided against it and had a play around with texturing instead, on a scrap piece of copper.


Once I found a texture I liked, I went at the robin and gave him bumpy feathers all over. The eye (which isn't really clear in the picture) was made with another punch, and then I selected one with a dotted line effect to mark out the beak and breast.

The last part of the session was spent polishing the edges and untextured areas with wet and dry paper (like sandpaper for metalwork), and then burnishing the edges to strengthen them. I also punched a hole in the top of the pendant so it could hang from a jump ring.


Part of the next session would be spent finishing off with polishing and adding a jump ring, but that left me wondering what to do with the rest of the time. Luckily Roland had mentioned drop casting - pouring molten silver into water to see what shapes you get - and I had the idea that maybe I cold give that a try and see if it would give me some inspiration.

Monday, 27 February 2012

New Technique: Chain maille

One of the things I love about making jewellery is that there's so much to learn. I've a list of techniques and materials I want to try as long as my arm: polymer clay, needle felting, shrink plastic, other acrylics.

A technique that I did try recently was chain maille. Most of the examples I've seen have looked quite daunting - Byzantine and Japanese for example - and while the results are lovely I don't think I have the patience. However, I saw a reasonably simple project in a magazine (I can't for the life of me remember which one, but I'll dig it out at home for a proper credit). It involved a set of simple two-by-four-by-two links strung between beads on eyepins.


I already had the beads I wanted to use (foil lined purple glass beads, and glass amethyst beads from Beads Direct), and a random selection of bead caps from various places, so I stocked up on about 200 8mm silver jump rings and got to work.

The first thing I discovered is chain maille, even the simple stuff, is hard. Not just keeping track of where the rings are (and this was fairly simple) but also in opening an closing all those jump rings. If I'm going to make it a regular thing I'll need to invest in a jump ring tool or a second set of flat-nosed pliers. Opening by hand and pliers just won't cut it - after a very short time my fingers ached and my nails were shredded. I switched to round-nosed pliers in my other hand (the only alternative I had) but that was fiddly and awkward.

The easiest way to get through the large number of jump rings to link was to do them in sections and link to beads with 5mm rings as I went. That kept it from getting too tedious. It turned out I had enough beads to do two short necklaces. I did try for one long one, but the amount of glass made it far too heavy.

After this there were still quite a few of the of the smaller beads left, so I made a bracelet and earrings to complete the set.