Showing posts with label necklace. Show all posts

Monday, 11 January 2016

Triple Beaded Necklace

I thought I'd already done a post for this, but apparently I haven't.

My mum spotted a necklace in M&S. She liked the style, but the colours didn't match what the person she was buying for liked so I volunteered to make something for her, in the required green. It turned out I didn't actually have a lot of green beads in my stash.  I asked what other colours she liked: "orange, black, ivory, lemon". This isn't a great combination, so I decided on dark green, amber, and black (the recipient is a green-eyed redhead). Then I went shopping.

It turned out I could buy beads individually at Beads Unlimited, so I went searching for a selection of oval, round, and faceted beads in my chosen colours. The next step was to figure out how I wanted to string them.


On the original necklace the beads were strung on transparent cord, with black cord knotted around them. I'd decided not to replicate this as it was fiddly and also meant some of the beads didn't hang right. I'd decided to string directly onto the main cord instead. Unfortunately I'm a really bad judge of size, so the beads turned out to be smaller than I expected. This wasn't a problem, except I had to go hunting for cord thin enough to string them on, and that meant the cord of the necklace would be thinner than I wanted and risk digging into the wearers neck.

In the end I stuck to the plan of stringing the beads onto their separate cords and knotting between them, and then plaiting the three threads together to make the rest of the necklace a bit thicker. This was the result.


For the clasp I made a loop in the cord, and added a random, reasonably-sized, green bead from my stash as the toggle. You can't see in the picture, but it has a spiral pattern.


One minor tweak later (moving the green beads by the toggle down to where the cords meet in the second picture) and it was ready to go.

Friday, 1 June 2012

Things in Bronze

Since my sulk-sabbatical, I seem to have recovered my passion for making jewellery. I've gone mad for wraparound bracelets lately but I haven't taken any pictures of those so I'll post about the things I made with bronze findings instead.

Last weekend I sat down with a pile of my bronze bits and pieces and decided to make an effort to use some of them. As well as the usual findings there were also bronze charms, pendants, and bronze-coloured acrylic beads.

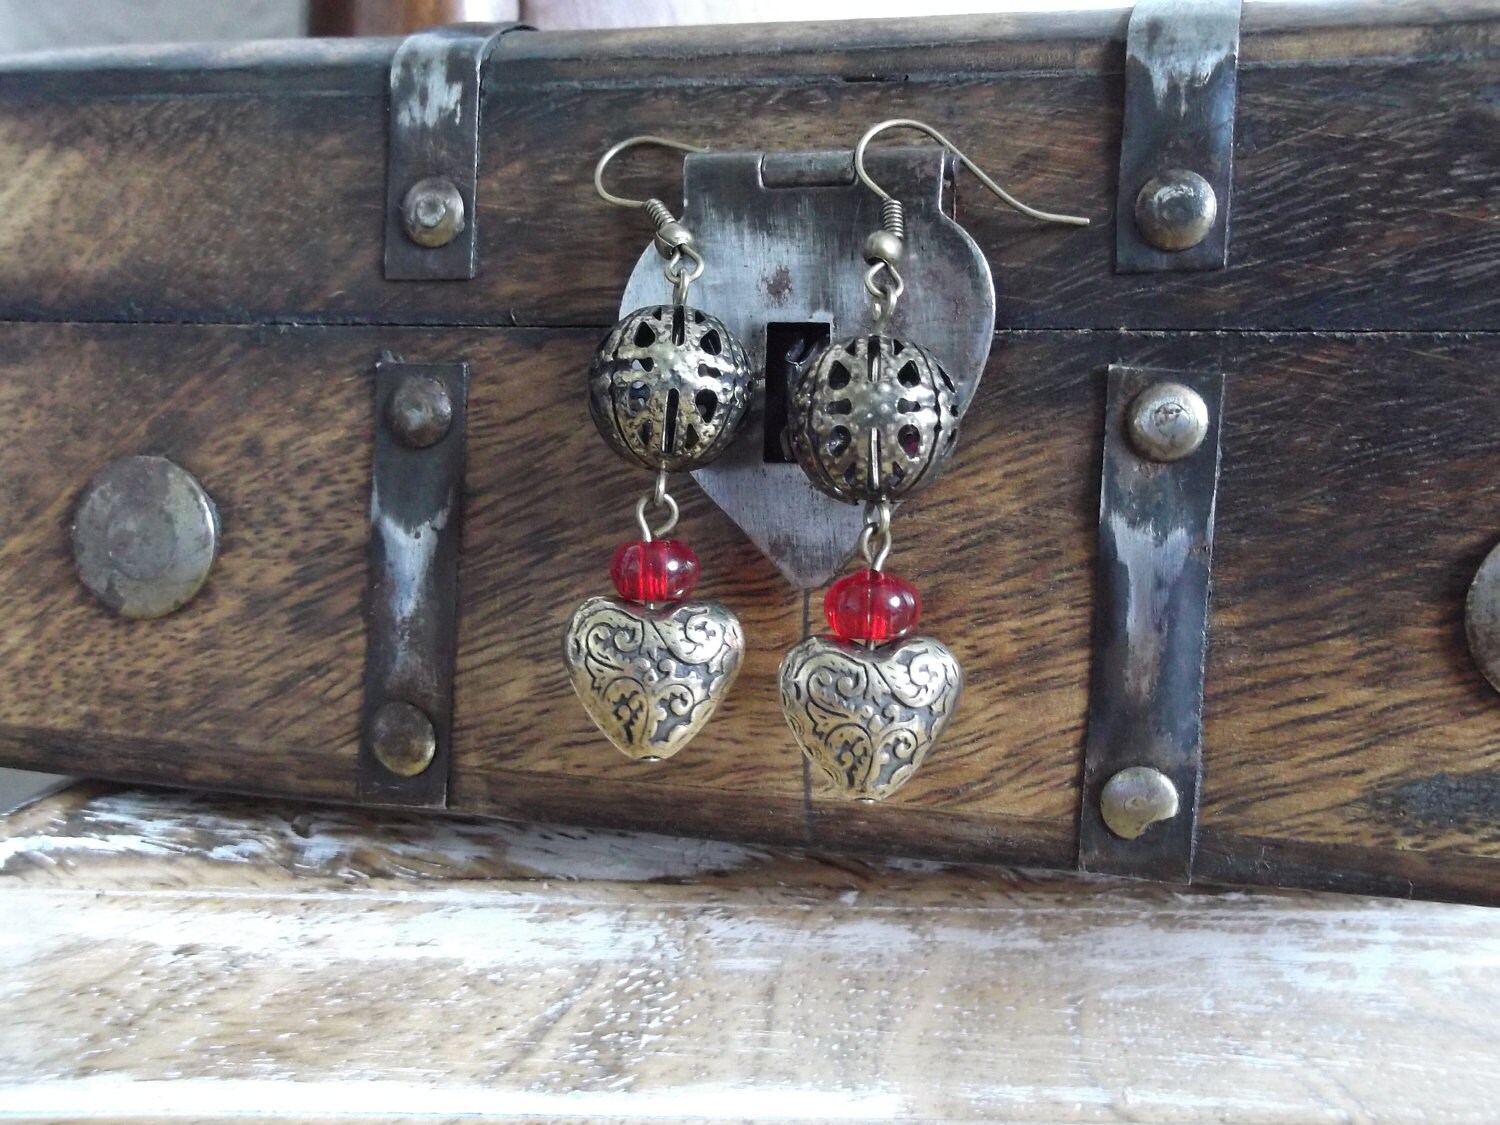
The first thing I made was a matching necklace and earring set, with a simple design of an acrylic heart and some red beads. It occured to me while I was making them that I'm lucky I didn't rediscover my problem with metals while I was wearing earrings. That could have been unpleasant.


Then I sat down with a big pile of beads I'd planned to make myself a bracelet with, and made a longline necklace buy stinging selections onto eyepins and linking them with short lengths of figaro chain.


Then I made a pair of matching earrings, as I like to make sets.


Apologies for thequality of that last picture. Blogger wouldn't upload it, so I've linked directly from Etsy.

lThere are still loads of bronze things left to use, and plenty of brass too. Lots to do in future!

Sunday, 20 May 2012

Copper and Bronze and Brass, Oh My.

It's been a couple of months since I posted, and I have to admit it's because I've been sulking.

See, back in my early teens my brother gave me a rather fetching copper ring with a kind of ivy pattern engraved around it. I loved it, but unfortunately the thick green band it left on my finger was also how I discovered I don't react well to copper. Over the years I've avoided copper jewellery, even though I love the colour. I don't even think about it any more.

I don't think about it to the extent that I spent six months enthusiastically buying cute charms and chain in bronze and brass. 'Cos they'd be fine, y'know?

Um, no.


This is a piece I affectionately named The Clockwork Owl's Nesting Place, although I'm not sure if owls actually nest. It's one of the first watch plate pendants I made. The owl and the leaf are antique bronze, with a matching chain.

After wearing it for about a week solid, I started getting really itchy around the back of my neck. When I took the necklace off I noticed that around the clasp the chain had gone a lovely copper colour. So I looked in the mirror and saw an attractive green streak along the back of my neck. And then I remembered that bronze and brass are alloys of copper.

And that's when I had a sulk. I'd got all those charms and things with plans to make myself some new jewellery. The Etsy shop was really only an excuse to make more of the stuff than I could ever actually wear, but now it's going to be an outlet for all the creations I want to wear but can't. Some of my designs I'm trying to rework in silver, but a lot of what I've got will have to go.

Expect to see a lot of bronze and brass in my shop in the near future, and lots of posts where I try to figure out alternatives to chain and metal charms.

Tuesday, 20 March 2012

I Love Lucite

I've never been much of a one for flowers, but recently I discovered lucite flowers and now I'm hooked.

There were two sizes available on Beads Direct last time they had a sale - and since the medium ones are an inch across I'd hate to see the size of large ones!

The first thing I made was a bookmark form Mothers Day. I attached a length of chain to the top of the hook, with a leaf at the end and three blue flowers randomly clustered for a naturalistic look.


I also spent some time this weekend making jewellery. There were only two of the medium flowers in white, and they looked really good with small black flower centres, so I paired them up and made a set of earrings. Because the hole runs through the middle the flowers tend to hang straight down, so I added a length of chain to the eye pin loops at the front and back to keep them facing forward.


Also at the weekend, I picked up an elasticated bracelet covered with butterflies. It was horrible, because all the beads were silver and it looked really monochrome. Personally I'd have gone with silver butterflies and brightly-coloured beads. But I already had an idea for the butterflies: to hang one asymmetrically on a necklace, so it formed a part of the chain, then add a dangle of some flowers. So I dismantled the bracelet and did that instead. Then with some smaller lucite flowers, and small butterflies from the same bracelet, made a pair of matching earrings.


I quite like making sets, I'm thinking about doing something similar in blue to wear myself.

Monday, 27 February 2012

New Technique: Chain maille

One of the things I love about making jewellery is that there's so much to learn. I've a list of techniques and materials I want to try as long as my arm: polymer clay, needle felting, shrink plastic, other acrylics.

A technique that I did try recently was chain maille. Most of the examples I've seen have looked quite daunting - Byzantine and Japanese for example - and while the results are lovely I don't think I have the patience. However, I saw a reasonably simple project in a magazine (I can't for the life of me remember which one, but I'll dig it out at home for a proper credit). It involved a set of simple two-by-four-by-two links strung between beads on eyepins.


I already had the beads I wanted to use (foil lined purple glass beads, and glass amethyst beads from Beads Direct), and a random selection of bead caps from various places, so I stocked up on about 200 8mm silver jump rings and got to work.

The first thing I discovered is chain maille, even the simple stuff, is hard. Not just keeping track of where the rings are (and this was fairly simple) but also in opening an closing all those jump rings. If I'm going to make it a regular thing I'll need to invest in a jump ring tool or a second set of flat-nosed pliers. Opening by hand and pliers just won't cut it - after a very short time my fingers ached and my nails were shredded. I switched to round-nosed pliers in my other hand (the only alternative I had) but that was fiddly and awkward.

The easiest way to get through the large number of jump rings to link was to do them in sections and link to beads with 5mm rings as I went. That kept it from getting too tedious. It turned out I had enough beads to do two short necklaces. I did try for one long one, but the amount of glass made it far too heavy.

After this there were still quite a few of the of the smaller beads left, so I made a bracelet and earrings to complete the set.


Monday, 20 February 2012

Steampunk fossil necklace

One of the things that made me decide to make my own jewellery was when I found this bead on Etsy.


It came from a shop called Impossible Fossils, which specialises in steampunk resin beads. I had this one for ages before I had the vaguest idea what to do with it. In the end I decided to use it as the focal bead for a steampunk necklace.

The problem was that it wouldn't fit on a jump ring, and I didn't have any wire, so I used an antique bronze headpin and made a loop at the top. I hung a white glass pearl from the top to embellish the plain wire. On either side of the focal bead I hung charms made from silver and amber beads, pearls, and watch parts to create my first steampunk charm necklace.


Monday, 13 February 2012

I don't [heart] Mondays

At the weekend I got a surprise parcel - a needle felting kit won in a jewellery magazine competition. I've never done any felting before, so it's great to get to try something new for free. However, felt beads will probably prove too tempting for the cats to resist so it'll have to wait until I have a plan for what to do with them first. I've already got ideas for some earrings.

With it being Valentine's Day tomorrow, I thought I'd post about another Valentine-themed piece. A little while ago I spotted these in a random jewellery shop, of the sort that doesn't normally sell parts.


Normally I find hearts a bit twee, but I've recently become addicted to glass beads, and these are just great. The hole is drilled from top to bottom. They only had assorted colours of the large ones, and they only had the small ones in blue, so I already had an idea for the blue ones even as I was picking them out.


The idea was to string the small beads on eye pins, and link them with chain, two to a side. That does mean there's an extra small bead lying around, which will probably end up on the Millefiori charm bracelet I'm making. So far I don't have a clue what do do with the remaining large beads, maybe they'll end up on a charm bracelet of their own.


The holes are drilled top to bottom, which was fine for the ones on eyepins, but a bit big for a headpin on the larger bead. So I used an eyepin, and made a dangle with some silver chain and small blue beads on headpins. The finished product: